How to Apply Makeup: A Step-by-Step Guide (With Pro Tips)


Maya Ernest


Makeup is all about feeling yourself, inside and out. Meaning there’s no real right or wrong way to go about doing your glam—maybe you prefer using makeup brushes over sponges, or you favor cream products to powder ones. When it comes down to the beauty basics though, there are techniques that can help you highlight your favorite features, determine the best makeup routine for your skin type, and boost your confidence in application.
Whether you’re learning to apply makeup for the first time or just need a much-needed refresh, we’ll guide you through a step-by-step makeup tutorial and give you some expert tips along the way. From skincare to contour, we’ve got you covered. With our beginner-friendly makeup guide—complete with product recommendations—you’ll be acing your beauty routine in no time.
It's about glam time you treated yourself.
Join IPSY

MEET THE EXPERT
Matin Maulawizada is a New York-based makeup artist. He has painted the faces of celebrities including Mandy Moore, Claire Danes, and Tracee Ellis Ross.
Amanda Bell is a makeup artist in London. She has been professionally glamming for more than 25 years and is currently the PIXI BEAUTY Global Director of Education and Artistry.
Here’s How to Apply Your Makeup Like a Total Pro
1. Start With a Nourishing Skincare Routine
The truth is, no pro makeup artist starts a look without the proper skin prep. A good cleanse, light exfoliation, serums, and moisturizer (plus sunscreen during the day!) will help plump up your skin and have it looking its best both without and under makeup.
It’s important to start with a clean palette, so you’ll first want to remove any makeup you might have (accidentally) slept in, or wash off any makeup from earlier in the day. We recommend using a makeup remover or micellar water to get rid of any residue, then following up with a mild facial cleanser and moisturizer.
Celebrity makeup artist Matin Maulawizada will even give the skin a little relaxing massage while working in the products. “I take the moisturizer and warm it up between the palms of my hands, and then massage it into the skin with upward and outward circular motions,” he says.
Based on your skin type, you can customize your pre-makeup skincare prep. Serums containing hyaluronic acid help hydrate and plump oily skin without adding extra oils, while ceramide-rich serums work amazing for those with more dry complexions. As for moisturizer, water-based gel-creams will be a game-changer for combo or oily skin, and richer creams will make even the driest skin glow to the gods.
2. Apply Makeup Primer for a Smooth Base
While you don’t need a makeup primer all the time, it really helps keep your makeup in place and increases its longevity—especially on a busy or warm day. “A proper primer is meant to allow your makeup to wear the same all over your face,” says Maulawizada. “Meaning that the makeup won’t disappear, sit on the surface of the dry areas of the skin, and will not separate on the oily areas such as the T-zone.” Give your skincare a minute or two to fully absorb, then work a pea-size dollop of primer over your skin. Blend it all over or focus the product just in your T-zone, depending on the look you’re going for.
If you have dry skin, look for a hydrating makeup primer, like the CIATÉ LONDON Everyday Vacay Hydrating Face Primer. It’s infused with conditioning vitamin B5 and soothing peach extract to lock in that non-greasy hydration. Those with oily skin should opt for an oil-absorbing or pore-blurring primer.
Something to be mindful of is that the type of primer you use can affect the finish of the foundation. “A primer with a glow can make the base look more airbrushed and have a softer lit-from-within appearance,” says makeup artist Amanda Bell. “Whereas, a more matte-textured primer can make the base appear more velvety.” If a matte finish is what you’re after, the lightweight ELIZABETH MOTT Thank Me Later Face Primer will help keep your complexion shine-free and minimize the appearance of pores.

3. Consider Color Correcting
Covering up discoloration and blemishes is best done with some color correcting first. While this step is optional, it might be helpful if you want to conceal hyperpigmentation from sun damage or acne scars.
Unlike concealer or foundation, color correcting doesn’t match your skin tone. Instead, it utilizes the rules of the color wheel: Using colors that lay opposite from one another on the wheel to effectively cancel each other out. Green, for example, can help neutralize the appearance of redness caused by blotchiness or blemishes. Meanwhile, peach, and orange tones can help soften the look of dark circles, dark spots, and hyperpigmentation. This KIMCHI CHIC BEAUTY Undercover Hoe palette is packed with every color you might need. Apply the appropriate color corrector shade where needed, and use your fingers or a concealer brush to blend it out until it’s even.
4. How to Apply Foundation for a Flawless Finish
Foundation (or whatever you choose for your base: tinted moisturizer, BB cream, skin tint, you name it!) is super customizable. You can apply foundation with your fingers, a makeup sponge, or a foundation brush—it’s all up to your comfort level and the finish you’re looking for. Maulawizada recommends using your fingers when applying a small amount, such as one layer of lightweight liquid foundation or a BB cream. You can also use a concealer brush to add a little extra foundation over blemishes.
For a more full-coverage yet natural look, Maulawizada recommends distributing the foundation evenly with a synthetic foundation brush to the flat parts of the face (like your cheeks, forehead, and chin), then, with less product on the brush, apply foundation to your T-zone. “This will create the illusion of less makeup,” he says.
Keep in mind that your foundation should be the same color as your natural skin tone, not much lighter or darker. That way, your foundation matches your chest and neck (and doesn’t leave your face a different color than the rest of your body). Make sure to blend your foundation into your neck and earlobes if necessary.
If you’re struggling to choose a foundation type, consider your preferred look and your skin type. Mature skin or dry skin types should reach for a liquid foundation, as powder foundation can settle into fine lines and wrinkles. That said, powder foundation is a great option for oily skin types since it absorbs and controls excess oil.
Those with combination skin can try out a liquid or powder foundation (or even a mixture of the two). Apply powder foundation in oily areas and a liquid formula in other areas of your face, or top off your liquid foundation with a dusting of powder foundation for a full-coverage and oil-free look. Just don’t pack them both on, since too much product will give you a cakey finish.
Cream foundation tends to be heavier than liquid or powder foundations, which makes it great for full coverage looks. You might want to steer clear if you’re prone to breakouts, however, since cream formulas may clog pores.

5. Conceal Where You Want More Coverage
Just like foundation, you can apply concealer with either a makeup brush, beauty blender, or just your fingers. (Note: A brush will give you a more full-coverage makeup look.) Still, when it comes to concealer, remember that a little goes a long way. You really only need to apply concealer to the areas you want to hide.
Concealer is meant to even out your complexion, so pick a shade fairly close to your skin tone. You can also use a concealer in a shade slightly lighter than your skin tone to brighten dark areas or high points of your face.
Dot concealer under your eyes to cover dark circles, starting small and building up as needed to avoid looking cake-y on the delicate skin around the eyes, says Maulawizada. Then, apply a little concealer to any blemishes, dark marks, or red spots, allowing the formula to set for a minute or two before blending and applying any type of powder on top.
It’s also important to note different types of concealers and the purposes they serve. “Concealers with a creamy texture are more versatile,” Bell explains. “You’ll be able to use them under the eyes and on other parts of the face, as they blend seamlessly into the skin. Richer and thicker formulations, like concealer in a stick or pot, are superb for covering spots and blemishes."
If you opt for a creamy formula, Bell advises to “pat in with clean fingertips or a makeup sponge.” With richer stick and pot concealers, “It’s worth investing in a precision concealer brush,” she says. “These allow you to be very targeted with where you add the extra coverage. Once you have applied these types, dot gently with your brush to blend into the skin.”

6. Create Some Dimension with Bronzer and Contour
Bronzer is a super versatile makeup product because it can be used to contour or just add a burst of warmth to your skin, like you just got back from a beach vacation (minus the sun damage!). When applied as a contour to sculpt, you want to only add color where there would be natural shadows on your face, like under your cheekbones, along your jawline, and on your forehead around your hairline. You can also use the contour to create the visual illusion of a recessed area if you’re trying to change the shape of your nose or fake the look of a shorter forehead. ”Contour should mimic the color of shadow on your skin,” says Maulawizada, so be careful not to choose a color too deep for your skin tone, and opt for a cooler undertone.
For traditional bronzer application, Bell recommends the continuous 3-shape method, which adds color in a 3-shape where the sun would naturally hit you. Swirl a fluffy powder brush in your bronzer, tap off any excess powder, then start on your forehead near your hairline. Sweep the brush out and down along your hairline and across the tops of your cheeks, then continue sweeping it back again toward your ears and then down along your jaw and chin. “This technique refines the bone structure while simultaneously adding warmth,” says Bell. If you’re using a liquid formula, follow the same application and then buff out the product with a big bronzing brush.
7. Use Blush to Bring Color Back to Your Face
After bronzer, you’ll want to apply blush to add back a bit of warmth to your face—only this time to strategic areas. Think the apples of your cheeks for a doll-like effect, tops of your cheeks and across the bridge of your nose for a sun-kissed look, or along your cheekbones and temples using the newly re-popularized draping technique.
“[For draping], you take the blush higher than just the apples of your cheeks,” Bell says. “It gives an incredibly vivacious look, really adding a pop of color and also adding extra dimension to the face. Start at the apple of the cheek and sweep the brush higher towards the hairline in a teardrop shape. This draping technique works beautifully with cream, gel, liquid and powder blush.”
While the blush placement you opt for works equally no matter the blush formula you choose, the applicator you use should differ. “For a gel and liquid, I like to use a soft makeup sponge,” Bell says. “For a powder blush, I use a soft fluffy cheek brush so I can blend the blush into the skin in a soft circular movement for an effortless look.”

8. Highlight Your High Points for Depth and Glow
If you ask us, no makeup look is complete without highlighter. You can go for either a swipe of highlighter so blinding you can see it from space, or a simple, natural-looking glow. Either way, highlighter will add dimension and keep your face from looking flat.
“Highlighters can be applied wherever you want to bring attention, like cheekbones or even clavicles,” says Maulawizada. He warns that although a tip-of-the-nose highlight is trendy on TikTok, it can look a bit dramatic and unnatural IRL. (Unless you’re going for that, of course, then rock on!) You can also brighten up the deepest areas of your face—like the inside corners of your eyes, underneath your eyebrows, or your cupid’s bow—to make your face look more bright and awake.
Just like bronzer and blush, highlighter comes in a ton of different shades and formulas, like gels, liquids, powders, creams, and more, so the highlighter world is your oyster! Gels and liquid formulas will give you more of that lightweight dewy look, while powders and creams offer a long-lasting glow.

9. Groom and Shape Your Eyebrows
This step in your makeup routine is all about grooming your brows to frame your face and enhance your overall makeup. Paying attention to your brows is essential because they can either make or break your look. Well-groomed brows can add symmetry to your face, draw attention to your eyes, and give your entire appearance a polished finish.
When it comes to grooming your brows, there are several product options depending on your preference and desired outcome. One popular choice is a brow pencil, which allows for precise filling and shaping. Brow powders are great for achieving a softer, more natural look, while brow gels help set your brows in place and add volume. For those seeking a long-lasting solution, eyebrow pomades offer a waterproof and smudge-proof option. When picking out a product, choose a shade that’s close to your natural hair color.
Start by brushing your brow hairs upwards with a spoolie brush to reveal their natural shape. Then, use your chosen brow product to fill in any sparse areas, following the natural arch of your brows. Remember to blend the product well with your clean spoolie brush for a seamless finish. If you want, you can even use a concealer to clean up the edges and define the shape further. Finally, set your brows in place with a clear or tinted brow gel to make sure they stay put. See our step-by-step brow tutorial for a complete breakdown, and learn how to create this year’s most coveted fluffy brows.

10. Experiment with Eyeshadow (and Blend, Blend, Blend)
There are numerous ways to apply eyeshadow, but when it comes to the basics, there are a few things to remember. To keep your eyeshadow from creasing or fading, we recommend using an eyeshadow primer. Applying it from the roots of your lashes to the top of your crease will help your eyeshadow last longer.
The most classic (and the easiest) eyeshadow look is to apply a single color over the entirety of your eyelid. For this, you can apply your preferred shade of eyeshadow with an eyebrow brush (or finger, for higher pigmentation), starting in the center of your lid and blending outwards. Prevent harsh lines near your crease, and on the corners of your eyes by fading your eyeshadow into your natural skin tone. For some extra help, see our guided visual tutorial on applying eyeshadow.
If you want a more defined look, it’s helpful to have a few darker shades around. “The light shades similar to your skin tone act as a base,” explains Maulawizada. “A darker shade creates shape and definition, as well as contours the eye. Shades in between are for the lids to marry the two seamlessly.” Focus the darker shades on the outside corner of your lash line, moving upward to create a “C” shape. Then, use an in-between shade on a fluffy eyeshadow brush to blend them all together.
As for those shimmer shades? Add them to the inner corners of your eyes to make them look big and bright.Check out our favorite eyeshadow palettes for every option you’d need for a soft glam or intense color payoff.

11. Define and Your Eyes With Eyeliner
There are those who can’t live without eyeliner and those who only bust it out on special occasions—but it’s always nice to have a basic black liner in your makeup bag for when the feeling strikes. (If you have brown or blonde hair, you might also consider using a brown eyeliner for a more natural look). Maulawizada likes to use a pencil eyeliner to make eyeshadow deeper and more dramatic. “It can be dotted between lashes to create a fuller lash base,” he says. “And of course as a liner sharply or smudged to create definition around the eyes.” For a visual, check out our beginner-friendly tutorial for winged eyeliner.
For liquid eyeliner looks, we love the ICONIC LONDON Enrich and Elevate Eyeliner, which is dual-ended for all the possibilities. Use its thicker end to create crisp lines or sharp wings, and use the smaller side to detail edges and your waterline. You can choose to wing your eyeliner up and outwards a bit if you want, otherwise you simply need to follow your lash line from the inside corner to the outside corner. If you make a mistake, no worries! Use a q-tip soaked in micellar water to clean it up.

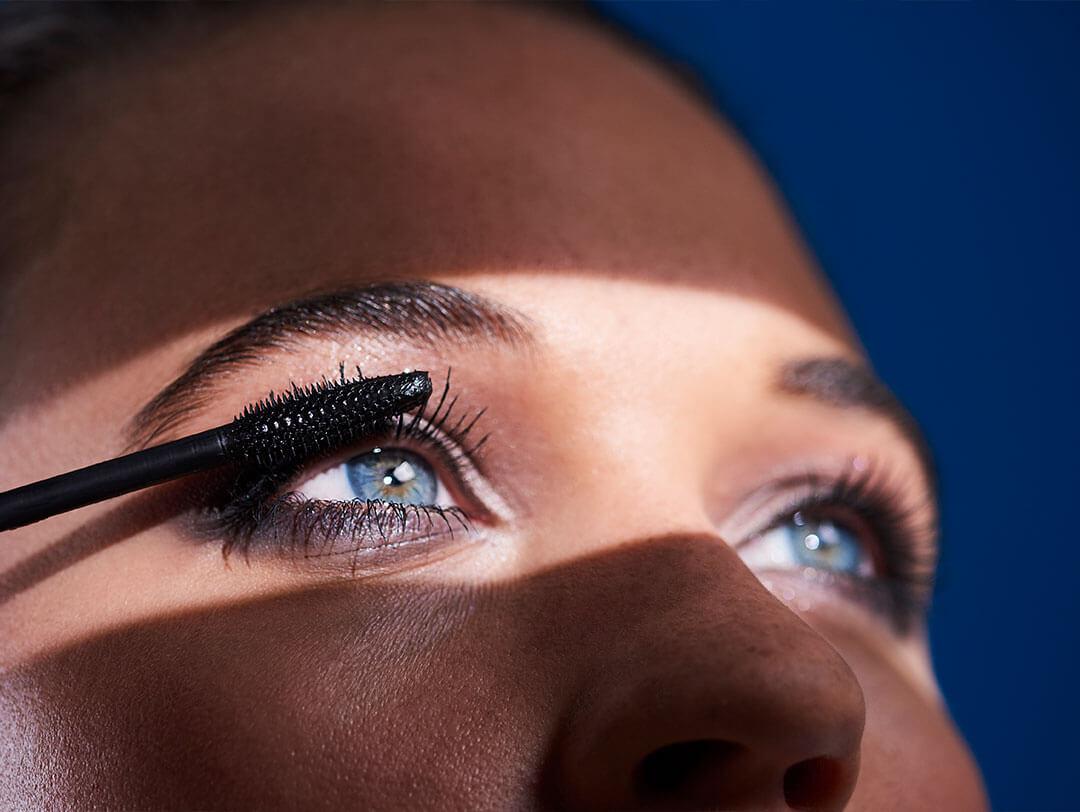
12. Swipe on Mascara for Fuller and Longer Lashes
Makeup artists usually apply mascara a bit differently than us normal people. If you often just layer it on, try this pro trick from Maulawizada. “After curling the lashes, I wiggle the mascara at the root of the lashes and work it to the tips,” he says. This creates a full, dark lash line at the base of the lashes. There are tons of different mascara types to choose from, so pick what benefit you’re looking to achieve, and go from there. Looking for extra length? You’lll love tubing mascara. Want more volume? Then a fiber mascara will be your jam. Spending a lot of time in the heat or by the pool? Waterproof mascara is a total must! And for a longer wear time, try using a lash primer.
13. (Optional) Stick on Some False Lashes for Extra Drama
While magnetic lashes have gained serious popularity in recent years, traditional glue-on falsies still reign supreme. Though this is what we consider an added bonus in a makeup routine, if you do indeed want to take this route, Bell breaks down step-by-step instructions for doing it effortlessly.
Start by applying eyeliner along the upper lash line. This will guide you and give a better finish to the final look. Use a pencil liner for a softer look, or a liquid liner for a refined look.
Next, curl your lashes. If you can, gently heat your eyelash curler with a hair dryer on very low heat in advance. This will provide a greater, longer-lasting curl.
Apply a coat of mascara.
Remove strip lashes gently with tweezers from the packet and measure them along the eyes. Cut the strip of lashes to fit your eyes (small, sanitized nail scissors should do the trick).
Use a cotton swab to apply a thin layer of eyelash glue to the band.
The next step is very important: Go in with a little extra glue and add an extra blob on the inner and outer ends of the lash.
Then, wait approximately 30 seconds to allow the glue to get tacky in texture.
Place the eyelash as close to your natural lash line as possible.
Press down on the center of the lashes first, then the inner and outer corners.
Lastly, clamp your real lashes and the false lashes together with a lash applicator or tweezers.
PRETTY VULGAR’s Eye Swear False Eyelashes are a great starter set. Not only will they give you a natural flutter, but they’re also reusable with proper wear—meaning you’ll have plenty of times to nail your falsie application routine. Added bonus? These luxurious lashes are vegan and cruelty-free.

13. Line Your Lips for a Fuller Pout
Applying lip liner can both contour your lips and make your lipstick last longer. Maulawizada prefers lining the lips to contour, and then shading in the rest of the lips lightly. When lipstick is applied on top, it creates a plumping 3D effect. Plus, as the lipstick wears off, the liner shows underneath instead of bare lips.
We recommend a two-in-one lip liner like GLAM GALAXY COSMETICS Lippie & Lipliner Duo in Callisto. This terracotta shade looks gorgeous on all skin tones and lasts up to 24 hours. You can use the liner side to define your lip shape, then swipe on the matching lipstick—making on-the-go touchups are easy and saving room in your purse. Plus, this matte formula contains hydrating and plumping ingredients to minimize the appearance of lip lines and keep both lipstick and liner from fading and feathering.
14. The Best Way to Apply Lipstick and Lip Gloss
The order of lip products is what’s most important here. First comes lip liner, then lipstick, and then finish with lip gloss. Maulawizada applies lipstick either right from the bullet or with a lip brush, lining the lips and then filling them in. ILLAMASQUA Antimatter Lipstick in Midnight is the perfect semi-matte, semi-satin lipstick in a true red.
For a fuller pout, add lip gloss on top, right in the middle of your lips. “Make a kiss pout, then tap the color to the lips,” Maulawizada says. If you’re going for a more laid-back look, just apply lip gloss all over the lips with the doe-foot applicator.
15. Set Your Makeup to Make It Last All Day (And Night)
After all that work, you’ll want to set your makeup look with setting powder, setting spray, or both to lock it all in. Your formula of choice will depend on your skin type and how long you need your makeup to last. Maulawizada likes using a velour puff saturated with setting powder, but you can also use any fluffy brush.
“Work the product into the puff and tap off any access on the back of the hand,” he explains. “Then, roll the puff where you want to set your makeup until you reach a desired matteness.” Think about where you’re most oily or where your makeup creases, such as under your eyes and around your T-zone. The BELLÁPIERRE COSMETICS Banana Setting Powder has a yellow tone to diminish the look of dark circles and even the skin tone as it creates a crease-proof finish.
If you prefer your skin to look less matte and more natural, setting spray is a great option either on top of powder or on its own. TheMORPHE Sunsetter Setting Spray keeps your makeup locked with an oil-free formula that’s infused with SPF 30, protecting your skin from sun rays, blue light, and environmental stressors. It’s basically skincare and setting spray in one bottle. Who doesn’t love a two-for-one?
How to Apply Makeup FAQs
What products do I need for a basic makeup kit?
If you're new to the makeup world, it’s easy to feel overwhelmed by the countless options available. While everyone has preferences on what kind of products and what brands they like to use, starting with a basic makeup kit will allow you to perfect your routine first. Our complexion essentials include face primer, foundation, concealer, setting powder, bronzer, blush, highlighter, and setting spray. If you’re experimenting with eye makeup and eyebrows too, consider picking up eyeliner, a tinted eyebrow gel, mascara, and a neutral eyeshadow palette like the WANDER BEAUTY In Neutral Eyeshadow Palette. Finish off your kit with a lip liner, lipstick, and lip gloss in your preferred shades.
What are some basic do’s and don’ts for makeup beginners?
Do:
Apply makeup in a natural light.
When possible, apply your makeup in natural light. This will give you a better picture of what your makeup will look like when you step outside. If you don’t have access to natural light, do the next best thing and invest in a magnifying mirror so you can see flaws that you may not see under a shadow-casting bathroom light.
Pay attention to your skin.
Track any changes in your skin, including rashes, breakouts, itchiness, or redness. Address them with some moisturizing skincare, and skip heavy makeup for the time being. If you notice any of these changes after wearing makeup, keep note: These can point to possible allergies or reactions to product ingredients.
Use a primer.
A makeup primer creates a smoother surface for your makeup and helps it last longer. Consider using a face primer like the BEAUTY BAKERIE Butter Hydrasilk Primer to hydrate your skin and prep it for makeup application. You can also incorporate an eye primer into your routine to extend the life of your eyeliner and eyeshadow.
Don’t:
Buy a lot of products.
When you’re a makeup beginner, there’s no rush to go out and buy a bunch of products. Learn what kind of makeup products you like, as well as what formulas go best with your skin type and concerns. Later, you can invest in products you know you’ll love.
Apply makeup to a dirty face.
Applying makeup to a dirty face is asking for serious skin problems. Never apply cosmetics on top of other makeup that’s been sitting on your face for hours, and make sure to thoroughly clean and moisturize your face before applying makeup products.
Sleep in your makeup
You might be exhausted by the end of the day, but makeup should come off before your head hits the pillow. Sleeping in makeup can clog pores and dry out your skin, and it drastically increases your chances of breaking out.
How do I choose the right foundation shade?
The key to finding your perfect foundation is choosing one that matches your skin tone. Finding a perfect match can be hard, but a simple way to tell whether a foundation matches your skin is to swatch it against your jawline—the best match should practically disappear into your skin. Remember that foundation is basically your skin but better, so the right shade will blend right in with your neck and ears.
What’s the best way to clean makeup brushes?
Makeup brushes are a fabulous tool for all types of cosmetic application, but to prevent bacteria and breakouts, they’ll need a good clean about once a week. (If you have sensitive skin, are prone to breakouts, or use heavier, creamy products, consider cleaning them more often.)
Keep your makeup brushes good as new by first rinsing them with warm water. Avoid wetting the ferrule, as it can loosen the glue holding the bristles in place. Then, put a mild soap or specialty makeup brush cleaner on the bristles and swirl the brush in a circular motion on your palm or a textured brush glove, adding water as needed. Use your fingers to get in between the brush hairs, since dirt and oil can hide in the center. Depending on how dirty your brushes are, you might want to repeat this step, but you can use less soap the second (or third) time around.
Once you’re done, rinse all the soap out of the bristles and squeeze any excess water from the brush with your hand or towel—be mindful not to pull on the bristles while doing so. Finally, shape any brushes that may have lost their shape while washing and lay them flat to air dry in a clean, warm place. Pro tip: For extra sanitization, wipe down the ferrule and handle with 70% alcohol.
What’s the 2-4-2 makeup rule?
If you’re on TikTok, you might have heard of the 2-4-2 makeup rule that’s simplifying the cosmetic application process. The trend uses a specific number of products for different areas of the face: two products for the eyes, four products for the base, and two products for the lips. What products you choose to use are up to you—you could use an eyeliner and a mascara for your eye look, or swap those in for a single eyeshadow and a brow product. Point is, using less product will streamline your makeup routine, making this a great option if you want to keep things simple
Final Thoughts
How you do your makeup is entirely up to you, but knowing the basics gives you somewhere to start. Remember to start with a clean face, apply concealer after foundation, and use the shape of your face to determine contour and blush placement. Experiment with products to figure out what you like and find out what formulas work best for you—especially before investing in a larger makeup kit. Soon enough, you’ll have your signature beauty routine.
Liked this post? Share!
Related Stories
How-To
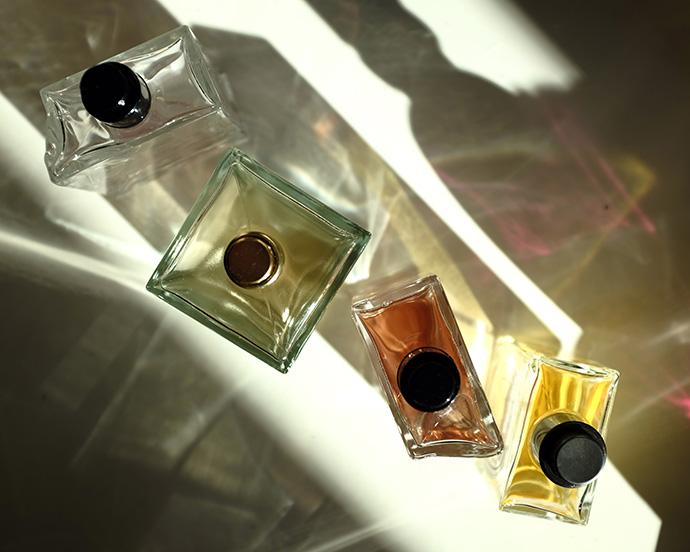
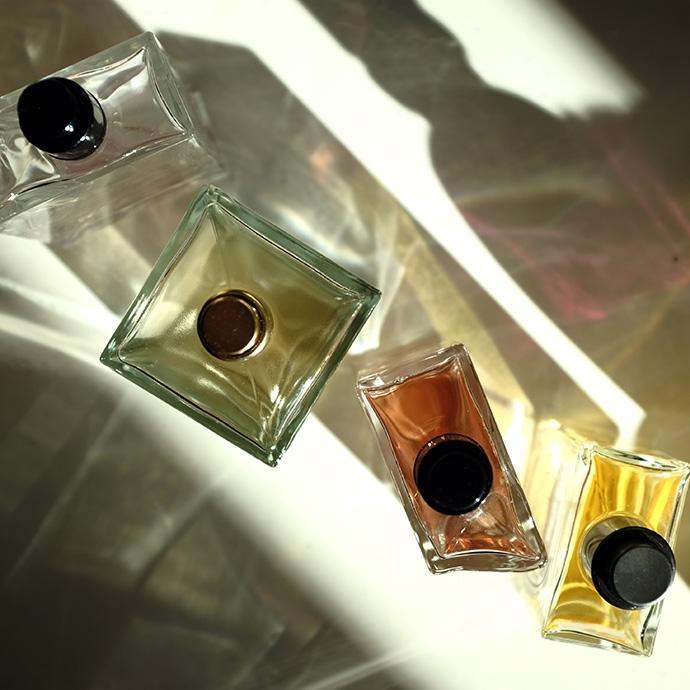
Why Everyone’s Scent Stacking Right Now
Published on Feb 27, 2026 • 4 min read


How-To
How to Treat Yourself: 39 Simple Self-Care Ideas
Published on Feb 3, 2026 • 15 min read

How-To
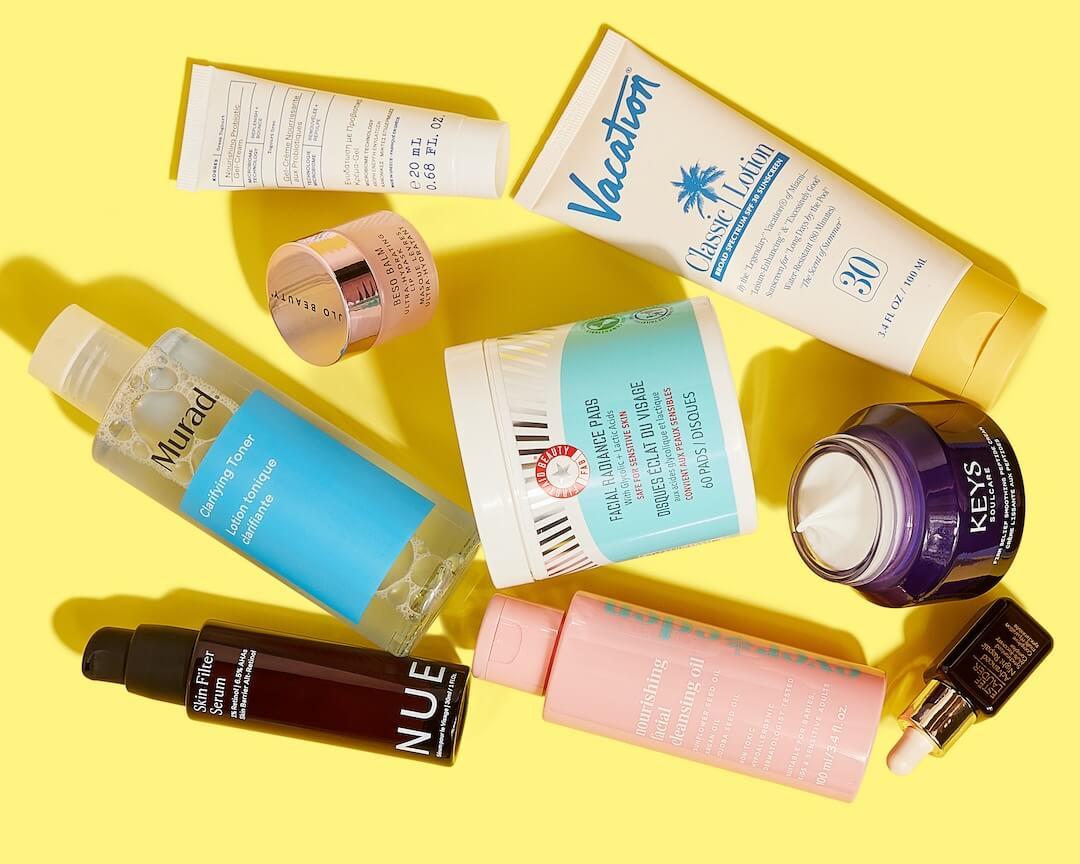
Here’s How to Build Your Perfect Skincare Routine for Both Morning and Night
Published on Jul 22, 2024

How-To
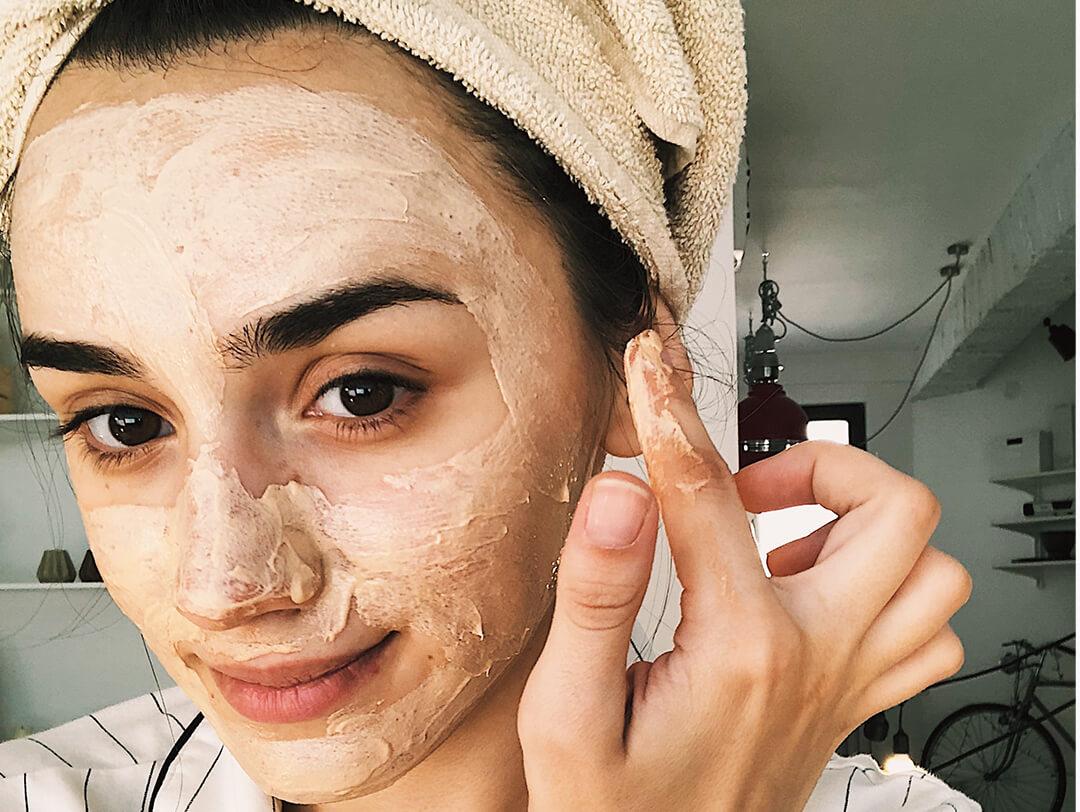
10 DIY Face Masks That Are Expert-Approved & Actually Work
Published on Nov 22, 2022


How-To
How to Give Yourself a Salon-Worthy Facial At Home
Published on Jan 15, 2025 • 10 min read


How-To
These 8 Self-Tanner Hacks Will Keep You Glowing All Summer Long
Published on Feb 2, 2026 • 5 min read


How-To
How to Safely Pop a Pimple (If You Absolutely Have To)
Published on Jul 23, 2024

How-To
No Eyelash Curler? No Problem—5 Alternatives for Curling Lashes in a Pinch
Published on Aug 12, 2024
Beauty Picked Just for You
Get 5 products worth up to $70
Plus exclusive access to epic deals up to 80% off
Starting at just $14/month. Cancel anytime.