These 8 Self-Tanner Hacks Will Keep You Glowing All Summer Long


Maya Ernest


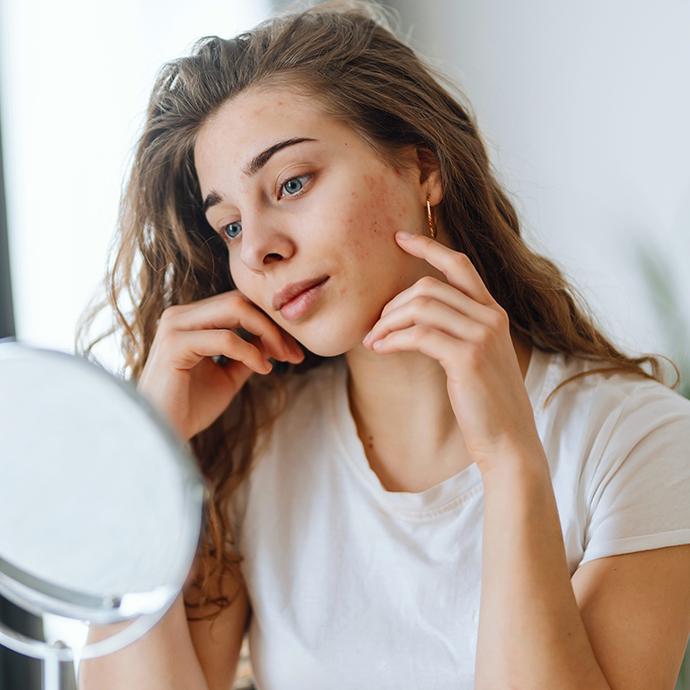
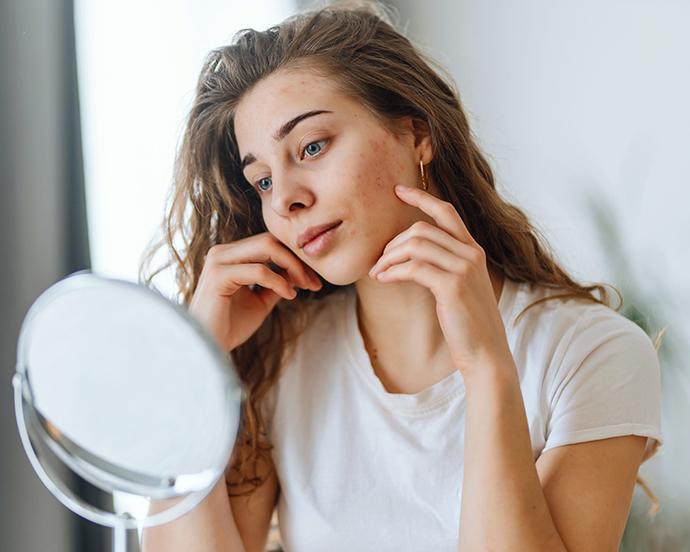
Photo by Liudmila Chernetska / Getty Images
With summer here, you’re probably wondering about the best way to get a glowing tan—without risking a sunburn and UV damage, that is. Self-tanning is the way to go, but of course, applying it can be easier said than done. Especially if you’re new to the self-tanning game, there’s always the risk of streaks, uneven color, and discolored patches. Luckily, we’ve got a few tricks up our (short) sleeves to get the perfect bronzed glow, and soon enough, you’ll be able to apply self-tanner seamlessly. Keep reading for all our tried-and-true self-tanning hacks.
It's about glam time you treated yourself.
Join IPSY

Our Ultimate Self-Tanning Tips & Tricks
1. Exfoliate Before Applying
To avoid rough patches or uneven color, you’ll want to exfoliate before applying your tan, especially if you’re dealing with old self-tanner from previous sessions. Beauty influencer Aurora Lovestrand recommends prepping your skin the night before your tan by using a body scrub or a dry brush, which will give you a great base to start with. We like using this top-rated A-Beauty Body Scrub from FRANK BODY, which tackles hyperpigmentation and cellulite with exfoliating coffee grinds and nourishing macadamia oil.
Remember, a self-tan settles based on the pH balance of your skin. Exfoliating and washing your skin at least eight hours beforeHAND will allow your pH to neutralize for a smooth tan development.
2. Make Sure Skin is Completely Dry
Showering before your tanning routine makes sure your skin is clean and free of any oils that could interfere with how your tan applies and develops. That said, you don’t want to rush into tanning straight away. We recommend waiting at least 10 minutes after your shower—that way, your skin will be dry and ready to absorb your tan.
3. Apply Moisturizer Carefully
Still, there are certain areas that may benefit from a little moisturizer. For an even glow, consider adding a bit of hydration to your elbows, ankles, and knees. “These areas tend to be some of the driest, so you want to protect them with a bit of moisture,” says content creator Ava Conti. While a good self-tan will hydrate your skin, you’ll want to incorporate a non-oil-based lotion into your routine, taking care to apply some to your knees, your feet (especially the back of your heels), your elbows, and your hands. If you have any super-dry skin or eczema, moisturize those areas as well to prevent the tan from developing too dark on those patches. Good skincare = a good tan.
4. Skip the Tanning Mitt and Use Gloves Instead
Using a tanning mitt prevents streaky application and orange hands, but it may not be the best option to apply your fake tan. TikTok self-tanning experts Jacqui and Victoria Hondrou recommend using gloves instead, since a tanning mitt can soak up product and leave you with a less concentrated tan. Gloves, on the other hand, will ultimately use less product and make sure your self-tanner goes the distance.
5. Apply Your Self-Tanner in Sections (and Don’t Skip the Small Spots)
If you want a believable-looking tan and an even application, apply your self-tanner in sections, making sure to massage the formula onto your skin in a uniform circular motion. You may think skipping over someplace small won’t make a major difference, but it can be a dead giveaway that your tan came from a bottle.
For smaller areas like your hands, face, and ears, you can use a makeup brush—like this large powder brush from REALHER—to work the product into your skin a little at a time. Just make sure to wash your brushes and gloves after you use them to avoid product and bacteria buildup.
6. Save Your Armpits, Hands, and Feet for Last
Self-tan beginners, take note: Saving your armpits, hands, and feet for last will make sure you get an even and natural-looking tan. These areas have creases that can absorb too much product (or none at all), so be careful in your application. To ensure you’re not applying too much, you can even use whatever product is leftover from your gloves or mitt.
When tanning your hands, make a claw shape to avoid pasty knuckles when you move your hands, then blend, blend, blend using a large makeup brush or kabuki brush. Don’t forget any crevices like in between your fingers or toes, and protect your nails from looking splotchy by dabbing them with petroleum jelly beforehand.
7. Correct Your Mistakes
If you’ve accidentally applied too much product in one area, don’t worry—streaks can happen even if you’re diligent with your application. Your best bet is to exfoliate the excess product off, which you can do by gently rubbing the area with a scrub or an exfoliating pad. (If you’re feeling adventurous, Jacqui and Victoria Hondrou have even experimented with using a combination of salt and toothpaste to remove their tan). Whatever method you choose, don’t overdo it, or you could end up with a dark spot that’s also irritated.
In a pinch, bronzer can be your best friend. Just swipe some on your lighter zones and blend well with a makeup brush to disguise dark spots and streaks.
8. Use Baby Powder to Set Your Tan
Just like using a fine-milled powder to set your makeup, using a baby powder can set your tan. After applying your fake tan, dust some baby powder onto areas that are prone to creasing and sweating, like your armpits and elbows. The baby powder will keep your skin dry and lock your tan in place.
Liked this post? Share!
Related Stories
How-To
Got a Cut on Your Face? Here’s How to Help It Heal Without Scarring
Published on Mar 20, 2026 • 4 min read
How-To
Why Everyone’s Scent Stacking Right Now
Published on Feb 27, 2026 • 4 min read


How-To
How to Treat Yourself: 39 Simple Self-Care Ideas
Published on Feb 3, 2026 • 15 min read

How-To
Here’s How to Build Your Perfect Skincare Routine for Both Morning and Night
Published on Jul 22, 2024

How-To
10 DIY Face Masks That Are Expert-Approved & Actually Work
Published on Nov 22, 2022


How-To
How to Give Yourself a Salon-Worthy Facial At Home
Published on Jan 15, 2025 • 10 min read


How-To
How to Safely Pop a Pimple (If You Absolutely Have To)
Published on Jul 23, 2024

How-To
No Eyelash Curler? No Problem—5 Alternatives for Curling Lashes in a Pinch
Published on Aug 12, 2024

Beauty Picked Just for You
Get 5 products worth up to $70
Exclusive access to epic deals up to 80% off
Starting at just $15/month. Cancel anytime.